
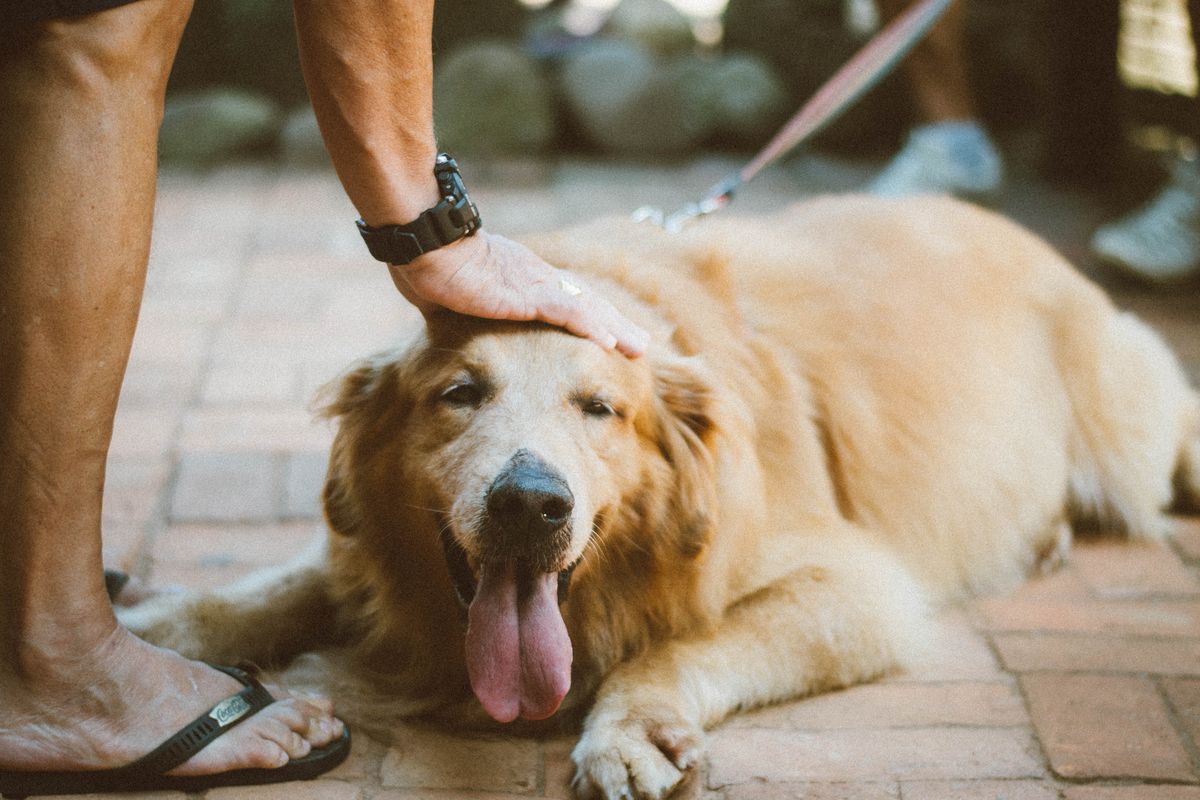
That post-hike pat on the head does not count as a health check. Real problems hide in places your dog cannot reach and you do not think to look. Embedded ticks, small punctures, early hot spots, paw pad cracks. All of these get worse if you miss them in the first few hours.
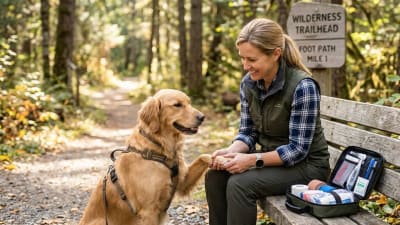
We developed our head-to-tail method over twelve years of hiking with Cedar, our Golden Retriever. She is 12 now and has logged thousands of trail miles across terrain from rocky alpine scrambles in Colorado to humid forest trails in the Great Smokies. Every one of those miles taught us something about what to check and where problems actually appear.
The casual once-over catches maybe 20% of issues. A systematic approach catches nearly all of them. Takes about seven minutes once you have the routine down.
Key Takeaways
- 1Work head-to-tail in the same sequence every time to avoid skipping zones
- 2Paws, armpits, groin, and ears hide most problems
- 3Check within 30 minutes of finishing for best results
- 4Document anything unusual with photos for vet reference
- 5Know your dog's baseline so you recognize when something changes
Why random checking fails
Most dog owners check the obvious spots. They run hands over the back, maybe glance at the paws, and call it done. This misses exactly where problems live.
Ticks go where blood runs close to thin skin. That means ears, armpits, groin, between toes. Not the back. Burrs work deeper with every movement, embedding themselves in undercoat fur you cannot see without parting the outer layer. Cuts and punctures happen on paws and bellies, the parts that contact rocks and brush.
Cedar's double coat makes everything harder. A burr that looks like it is sitting on top? Already three layers into her undercoat. A tick that seems like a skin tag? Actually feeding for eight hours. We learned the hard way that casual checking does not cut it with thick-coated dogs.
The other problem is inconsistency. When you check randomly, you skip areas without realizing it. Maybe you checked the left armpit but forgot the right. Maybe you felt the front paws but skipped the rear. A systematic approach removes that guesswork completely.
The 7-zone method
Same order. Every single time. That repetition means you never accidentally skip a high-risk area because you got distracted or rushed.
We time ourselves occasionally. About seven minutes total when Cedar cooperates. She learned long ago that treats come at the end, so she actually settles into position now.
Zone 1: Eyes and face
Start at the nose. Check for discharge, cracking, or unusual dryness. A healthy dog nose is usually cool and slightly moist, though some variation is normal. What matters is change from your dog's baseline.
Move to the eyes. Look for redness, excessive tearing, squinting, or visible debris. Trail dust and small seeds can irritate eyes without your dog showing obvious distress. After hiking through dry grass in Sedona last September, we found a small grass seed lodged in Cedar's lower eyelid that she had not pawed at or blinked away. Would have caused real irritation overnight.
Check inside the mouth if your dog tolerates it. Look at the gums. They should be pink and moist. Pale or tacky gums can signal dehydration. Any cuts on the lips or tongue from sticks or sharp objects need attention.
Zone 2: Ears
Ears are prime tick territory and also collect debris that your dog cannot shake loose.
Lift each ear flap and look inside. Check around the ear canal opening and the folds where ear meets head. Ticks embed here because the skin is thin and warm. On floppy-eared dogs like Cedar, moisture also gets trapped and creates hot spot conditions.
Feel behind each ear where skull meets ear base. Run your fingers along the entire ear, pressing gently to detect any bumps or embedded objects.
Signs of trouble include head shaking, scratching at ears, redness, or unusual odor. These can indicate anything from foxtails to early infection. A foxtail in the ear canal is a vet emergency because those barbed seeds burrow deeper with time.
Foxtail Alert
If your dog suddenly starts shaking their head violently or pawing at one ear after hiking through dry grass, suspect a foxtail. Do not try to remove it yourself if you cannot see it clearly. These seeds migrate deeper and can cause serious damage. Get to a vet.
Zone 3: Neck and chest
Remove the collar completely. Always. Ticks and debris hide under collars where they avoid grooming and casual detection. We once found two seed ticks under Cedar's collar after a humid trail in the Blue Ridge Mountains. Impossible to spot without removing the collar entirely.
Feel all around the neck, pressing through fur to reach skin. Check under the chin, along the throat, down the front of the chest. Any lumps or bumps warrant closer inspection.
Look for any hair loss or redness where the collar sits. Collar rub happens more on wet days or long hikes. Early chafing is easier to address than a raw hot spot.
Zone 4: Legs and armpits
Front armpits hide more problems than anywhere else on most dogs. The skin is thin, the area stays warm, and dogs physically cannot reach this spot to groom themselves. Ticks know this somehow.
Lift each front leg and feel the entire armpit, parting fur to see actual skin. We found an embedded tick in Cedar's armpit that she had carried for at least a day before our check. Would have been feeding for who knows how long if we had skipped this zone.
Work down each leg from shoulder to paw. Feel around the elbow and wrist joints where skin folds create hiding spots. Check for any swelling, heat, or sensitivity that might indicate a strain or sprain.
Rear legs follow the same process. Check the inner thigh area where skin is thin. Feel around knee and hock joints.
Zone 5: Paws and toes
Paws absorb more punishment than any other body part. Every rock, root, and rough surface contacts those pads.
Check each pad for cuts, cracks, punctures, or abrasions. Run your thumb across the surface feeling for embedded debris. Small thorns and glass shards can penetrate pads without drawing obvious blood. Cedar once hiked three more miles on a tiny glass sliver we did not find until evening.
Spread the toes and check between each one. Foxtails and grass awns enter here and can migrate up into the leg if not removed promptly. Check between the pads where debris collects. Rocks wedge themselves in there and cause limping that seems mysterious until you look closely.
Inspect the nails. Cracked or torn nails need attention. If your dog has dewclaws, check that they have not caught on anything.
| What to Check | What to Look For | Action Needed |
|---|---|---|
| Pad surface | Cuts, cracks, embedded objects | Clean minor cuts, vet for deep punctures |
| Between toes | Foxtails, burrs, redness | Remove debris, monitor for swelling |
| Nails | Cracks, splits, unusual wear | Trim snags, vet for severe breaks |
| Dewclaws | Tears, loose attachment | Vet if torn or bleeding |
Zone 6: Body and belly
Have your dog stand or lie on their side. Run hands along the spine from neck to tail, pressing through fur. Feel the ribs and flanks.
This is where most people focus their casual checks. We actually spend less time here because dogs can groom their backs and sides. Problems show up more obviously. Your time is better spent on zones the dog cannot reach.
The belly requires your dog to either stand while you reach under or lie on their back. Feel the entire surface, pressing through fur on double-coated dogs. Look for any lumps, unusual bumps, sensitivity, or areas of heat.
Check the groin area thoroughly. Like armpits, groin has thin skin and warmth that parasites prefer. Cedar learned to roll over on command specifically for this part of the check. Awkward but necessary.
Zone 7: Tail and rear
Run your hand along the tail from base to tip. Long-tailed dogs collect burrs and debris anywhere along that length. Even short-tailed dogs need attention at the base where fur bunches thickest.
The area under the tail and around the rear is nobody's favorite part of the check. Skip the squeamishness anyway. Matted fur here creates hygiene problems and parasites do target this spot. Look for any redness, swelling, or evidence of scooting that might indicate irritation.
What to do when you find something
Your response depends on what you discover.
Minor debris
Burrs, grass seeds, small tangles. Remove immediately by hand, working from the outer edge toward skin. Hold the base of the fur so you do not yank painfully. A metal comb helps with stubborn tangles. If matting is severe, do not force it. Professional groomers have better tools.
Cuts and abrasions
Clean minor cuts with clean water or saline. Monitor over the next few days for signs of infection. Spreading redness, swelling, discharge, or your dog obsessively licking the area all warrant a vet call.
Puncture wounds are more concerning than they appear. The entry point looks small but bacteria get driven deep. Any puncture should be cleaned thoroughly and monitored closely. Paw punctures especially have high infection risk because of constant ground contact.
Ticks
For embedded ticks, use fine-tipped tweezers or a tick removal tool. Grasp as close to the skin as possible and pull straight up with steady pressure. No twisting. No jerking. Do not squeeze the body.
Clean the bite site with rubbing alcohol after removal. We save removed ticks in a small container with the date and body location noted. If symptoms develop later, your vet can identify the species.
Joint or muscle issues
Limping, reluctance to put weight on a leg, swelling around joints, heat in a localized area. These suggest strain or something more serious requiring attention. Rest is the first response. Limping that does not improve within 24 hours of rest warrants a vet visit.
Photo Documentation
Take photos of any wound, swelling, or unusual finding. This gives your vet a reference point if things worsen and helps you track healing progress. A phone note with date, location, and finding description adds useful context.
Building the habit
The best routine is one you actually stick with. We tie ours to an existing behavior pattern.
Cedar figured out the sequence long ago. Return from trail, go to her spot near the door, get checked, get treats. The association got strong enough that she walks to the inspection area before we even point. Something she tolerated turned into something she expects.
Keep supplies accessible. We have a small kit by the door with tweezers, metal comb, antiseptic wipes, and treats. The alternative is finding a tick on your dog and wandering around looking for removal tools while the dog wanders off.
Quick notes help track patterns. We record what we find and where in a phone note. After years of this, we know which trails produce more burrs, when tick exposure spikes, and what conditions lead to paw pad issues. That data changes how we prepare before heading out.
When to call the vet
Most post-hike findings do not need a vet. Small cuts and minor debris are home-care situations. A single tick removal rarely requires professional help.
Some things do warrant a call. Multiple embedded ticks. Any puncture wound. Cuts that keep bleeding past ten minutes of pressure. Limping that does not improve with rest. Behavior changes you cannot explain.
Signs of infection developing over the days following a hike also warrant a visit. Swelling, spreading redness, discharge, fever, lethargy. Any of these suggest something needs professional attention.
Senior dogs like Cedar may need lower thresholds. Her immune response is not what it was at five. We err on the side of caution now, and our vet appreciates the early calls more than the late ones.

Adapting for your dog
Coat type changes how you approach this. Double-coated breeds like Golden Retrievers require serious undercoat attention. A slicker brush parts that dense fur enough to see skin. These dogs hang onto debris that a short-coated dog would shed just walking around.
Age matters too. Puppies tolerate handling better if you start young. Senior dogs may have arthritic joints that make certain positions uncomfortable. Work with your dog's limitations rather than forcing compliance.
Temperament plays a role. Some dogs relax into handling. Others fight every step. Build positive associations gradually. Start with shorter sessions outside the hiking context. Pair handling with high-value treats. The goal is a dog who cooperates because the process feels good, not one who tolerates it because you forced the issue.
The head-to-tail method works for any dog. Adjust the timing and approach for your specific situation, but cover all seven zones in the same order every time.
Frequently Asked Questions
Dr. Jennifer Coates, DVM, brings 25+ years of clinical experience to Paths & Paws. Based in Fort Collins, Colorado, she specializes in preventive medicine and evidence-based nutrition for active dogs.